The EventGrid namespace now offers a full vanilla MQTT Broker. This is a fine solution for connecting devices in a secure way to the cloud with custom MQTT topics. It can even provide Device-to-Device communication out of the box.
You will soon realize this isn’t a replacement for the well-known Azure IoT Hub. This tool combines those custom MQTT topics with that much-requested device-to-device connectivity.
Just create the MQTT broker, enter the right information about clients, client groups, topic spaces, and permission bindings and you are good to go.
Unfortunately, the Azure portal experience is a bit poor, there is not that much tooling available to make your MQTT broker life easy.
So, I am sharing with you some extra tooling.
I already shared a library that provides an overview of all topics per registered client.
Another omission is that there is no explorer tool to check the incoming data.
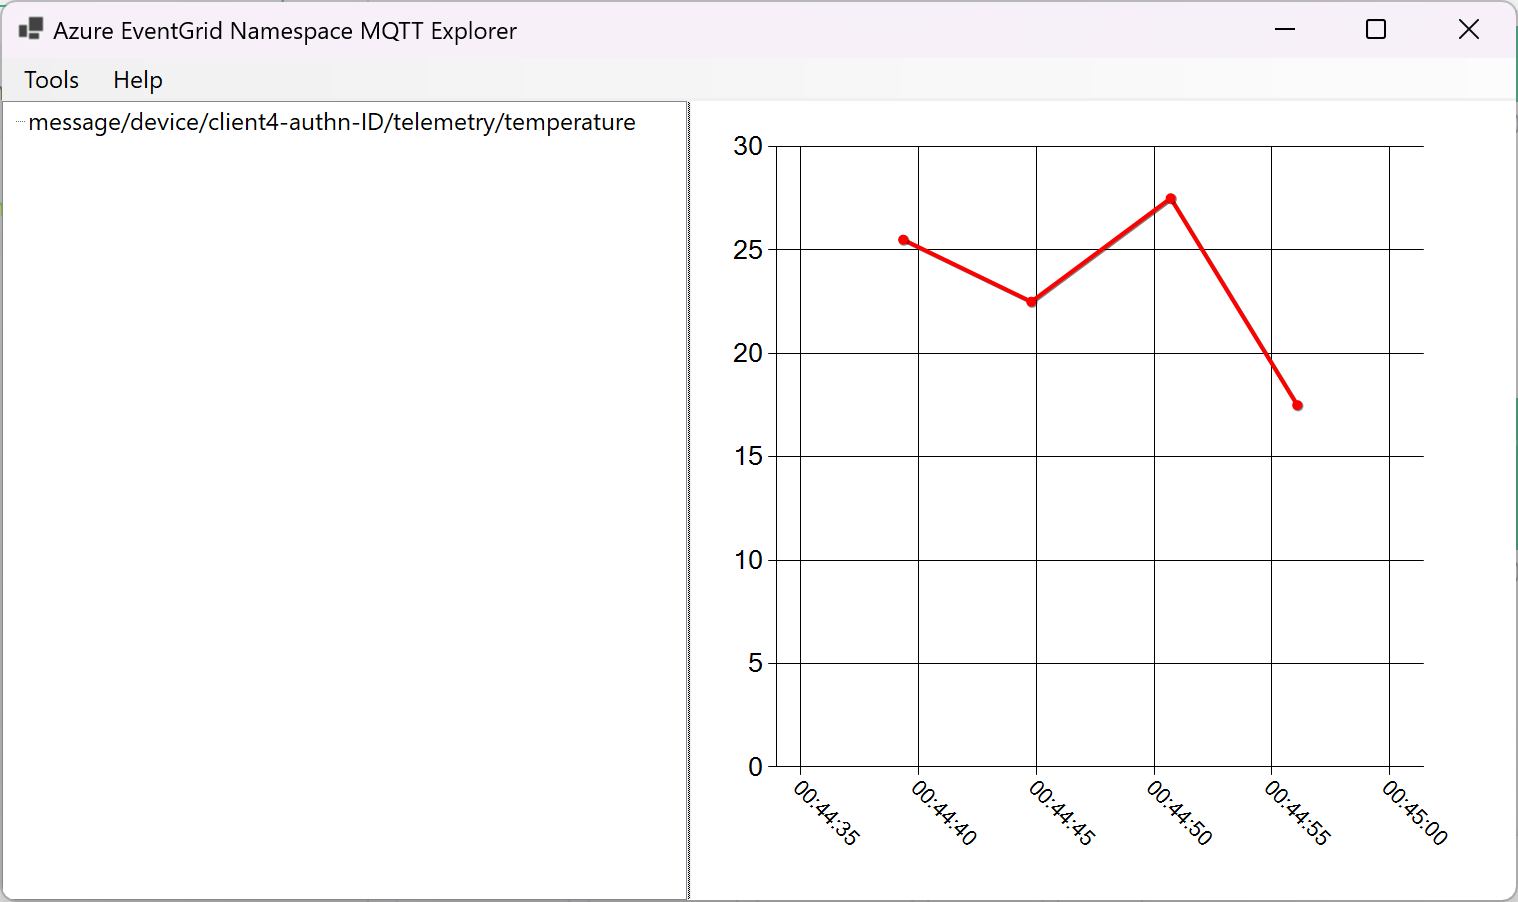
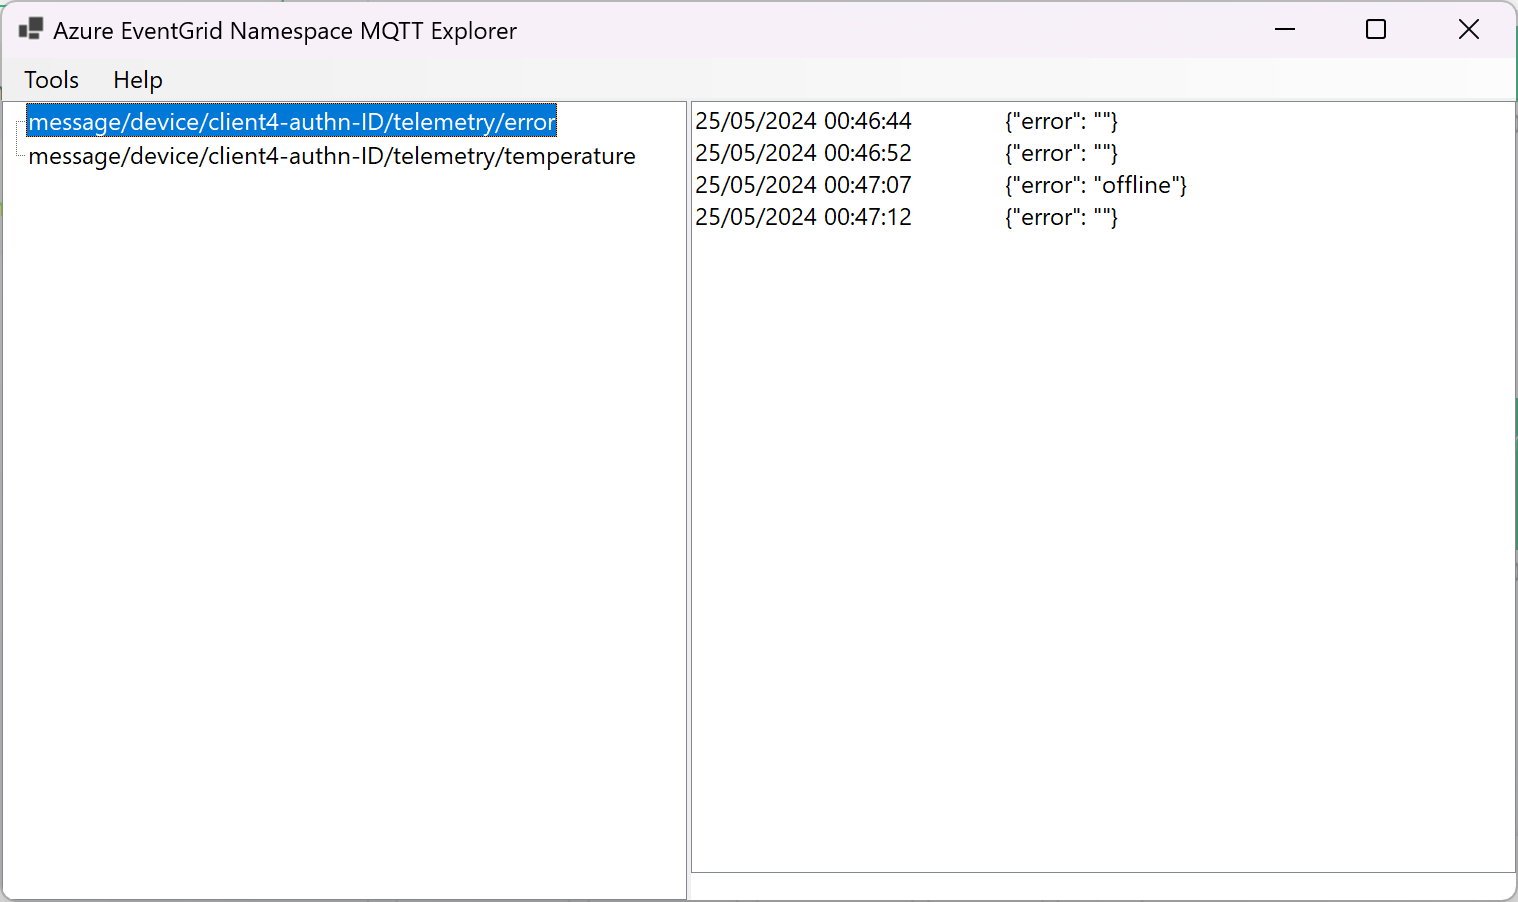
That’s why I created an explorer like this:

Based on all incoming messages, a list of MQTT topics is built up and the messages are shown. In real-time. As a string list or a chart.
Let’s see how you can get it to run and what it offers to you.
For a very elaborate overview of the MQTT broker capabilities, check out this blog post.
Goal
This blog post shows you how to use the sample GitHub repository to visualize all incoming Azure EventGrid namespace MQTT broker messages on all topics.
This could be the starting point for your own MQTT broker explorer.
Getting the repository
Go to the GitHub repository to get the source code:

Select the green button and make use of one of the options to download the content:
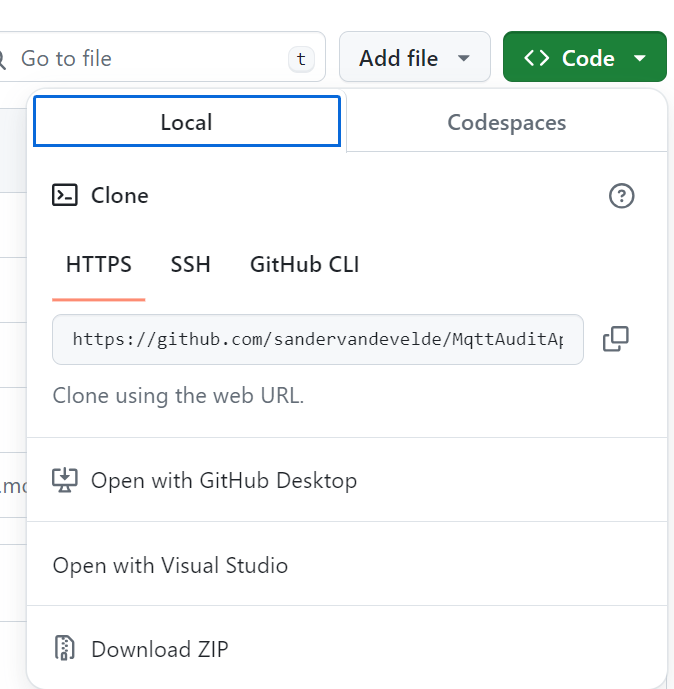
I clone it using the web URL:
https://github.com/sandervandevelde/MqttAuditApp.git
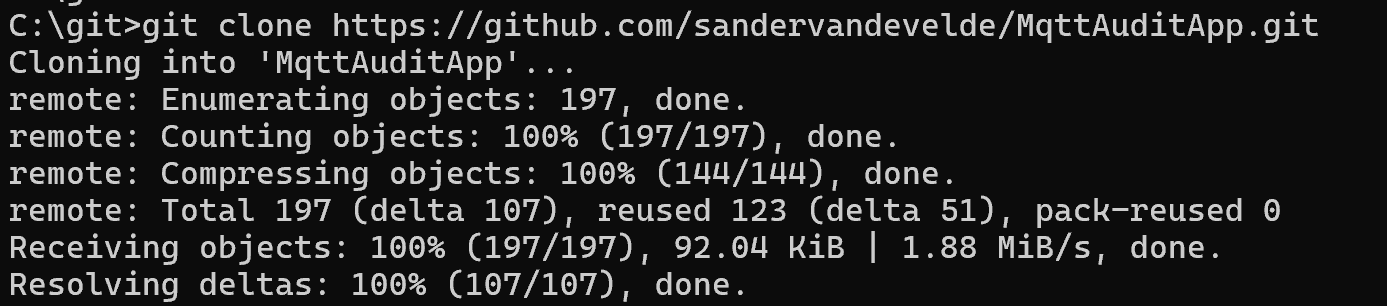
On your laptop, clone the repo by running the command on the dos prompt within a folder of your choice (eg. c:\git):
cd c:\git
git clone https://github.com/sandervandevelde/MqttAuditApp.git
Note: If the Git CLI is not installed yet, get the installer here. You can also use Visual Studio Code if you prefer that excellent tool.
See the installation succeeds:
Now, navigate to the ‘C:\git\MqttAuditApp\src’ folder with the source code and Visual Studio solution:
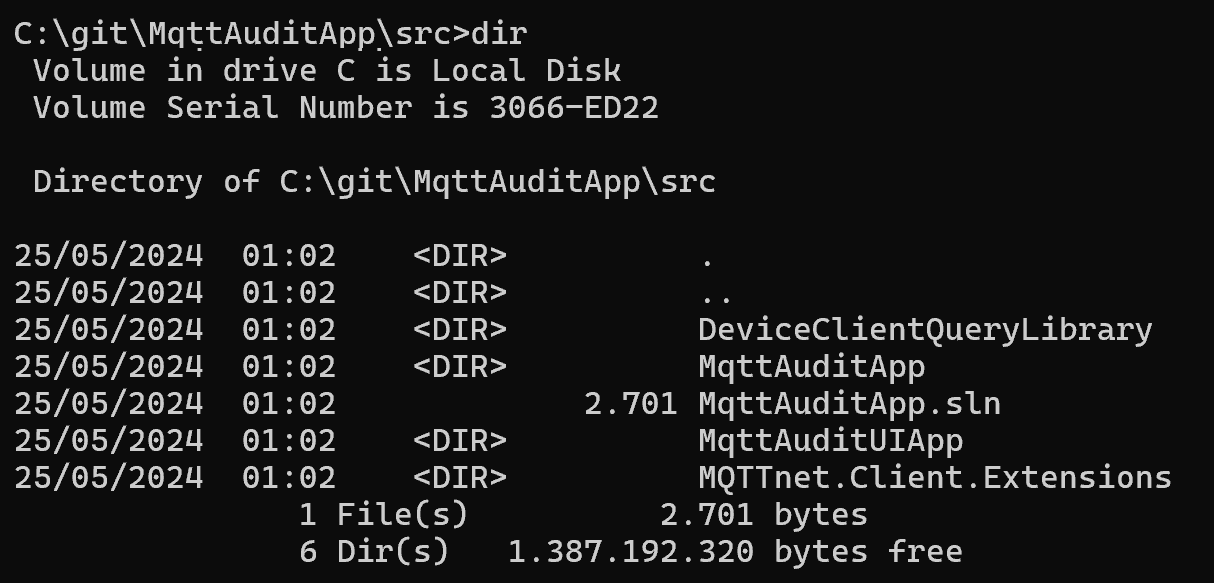
There are four projects:
- A copy of the ‘EventGrid namespace MQTT support, topics per client overview’ library, taken from this repo
- A copy of the ‘EventGrid namespace MQTT support dotnet samples – MQTTnet.Client.Extensions’ library, taken from this repo
- A library project as a backend for the queuing logic
- A WinForm .Net 8 explorer application
The chart is based on the free excellent WinForms.DataVisualization library.
Start or open the Visual Studio solution ‘MqttAuditApp.sln’ file.
How to access the MQTT broker
To follow along, you first need to have an EventGrid Namespace and at least one client, capable of publishing messages on certain topics:
- Create an EventGrid Namespace
- Activate MQTT on the Configuration tab page
- Create at least one client (optionally with a client attribute)
- Optionally create a client group (or use ‘$all’)
- Create a topic space with at least one topic template
- Create a (publisher) permission binding
Note: For details on how to do this, check out this post.
Use another MQTT tool like mqttx for publishing messages to your broker.
But how about subscribing to incoming messages?
In general, to read all messages sent to all topics passing through an EventGrid namespace, you either add an EventGrid (namespace) Topic and consume all messages or you add an extra client capable of subscribing to all topics.
I went for the last option, I used an extra ‘audit’ client.
This explorer tool is built around the MQTTnet.Client.Extensions library for creating an MQTT client instance, the code is available on GitHub.
So, we need to add an extra ‘audit’ client capable of listening to the wildcard topic ‘#’ and expose the client secrets via environment variables.
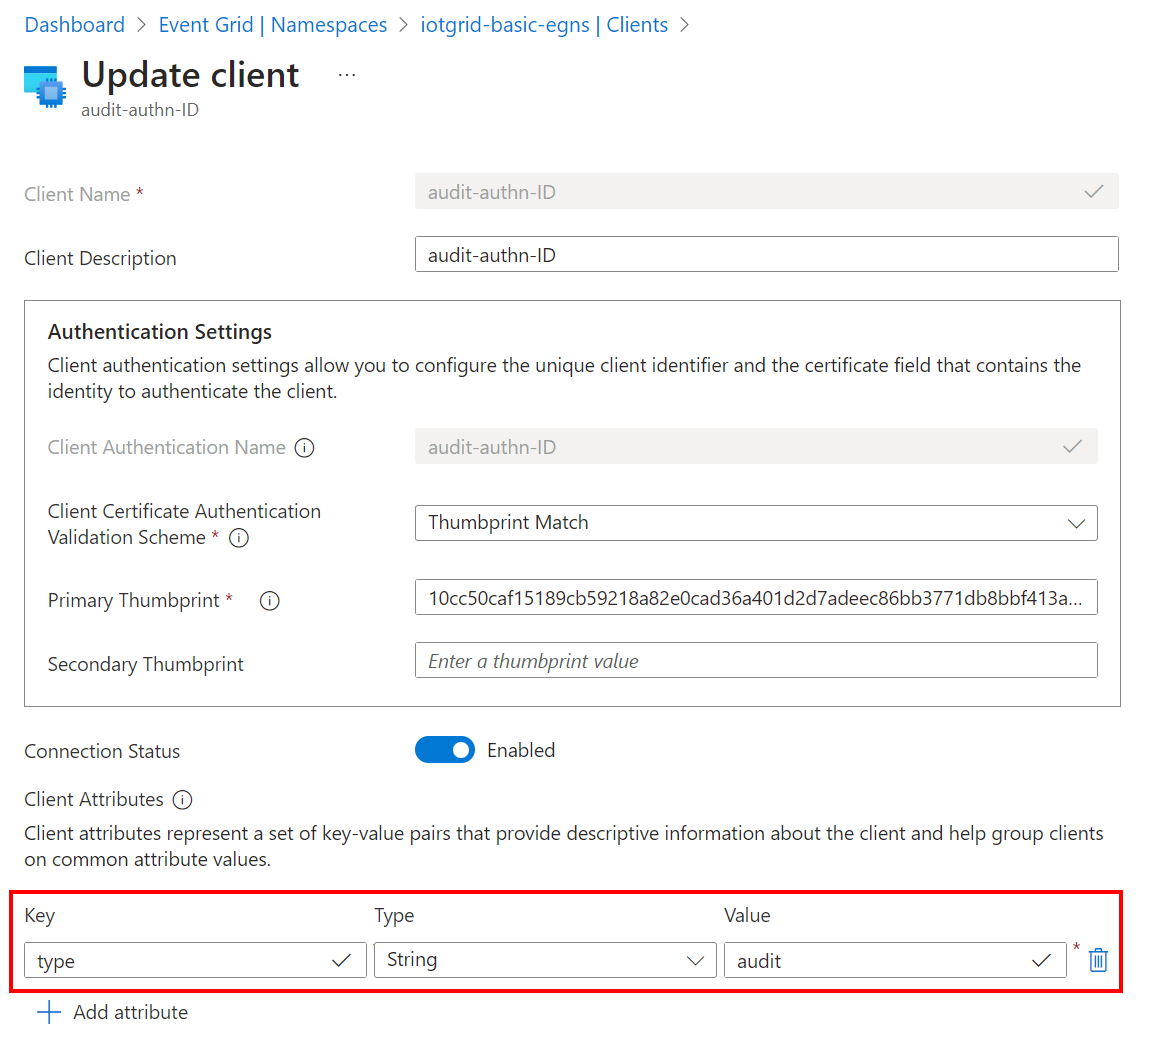
I created this extra ‘audit-authn-ID’ client:
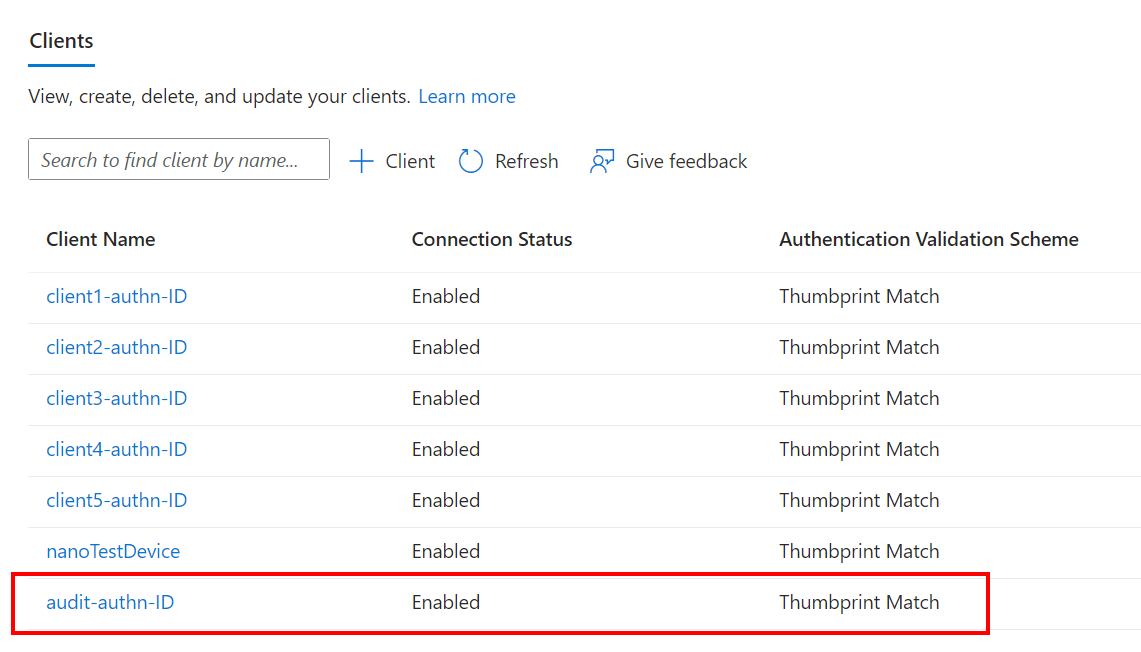
Note: The name is arbitrary, we pass it on as an environment variable later on.
This MQTT client gets one client attribute named ‘type’ with the value ‘audit’:
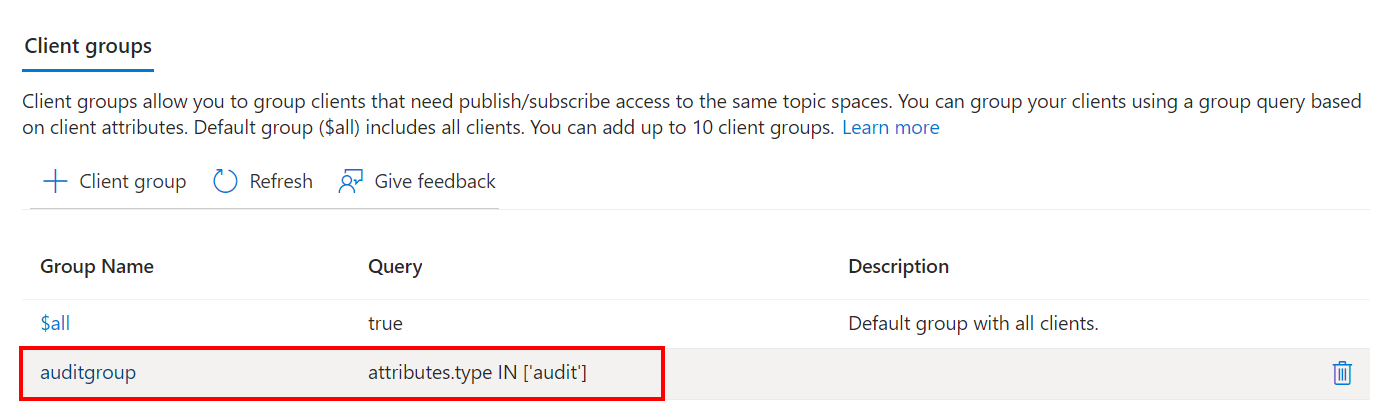
I also added an ‘auditgroup’ client group related to all clients having that same ‘audit type’ client attribute:
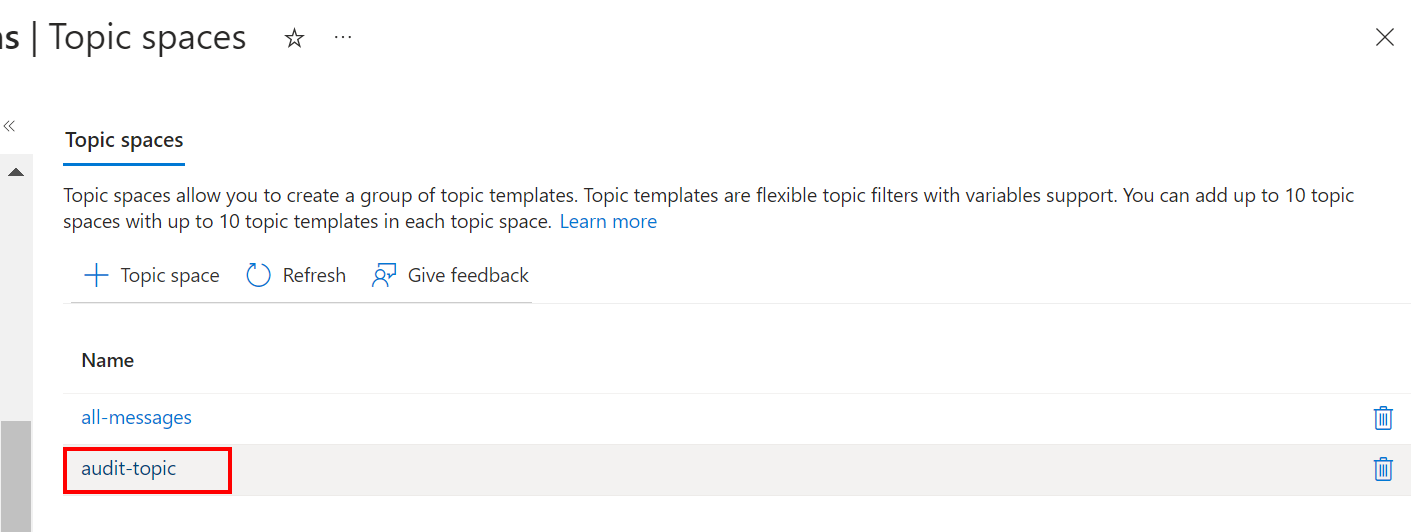
I then created an ‘audit-topic’ topic space, especially for the audit client:
That topic space contains only one topic template, the wildcard ‘#’:
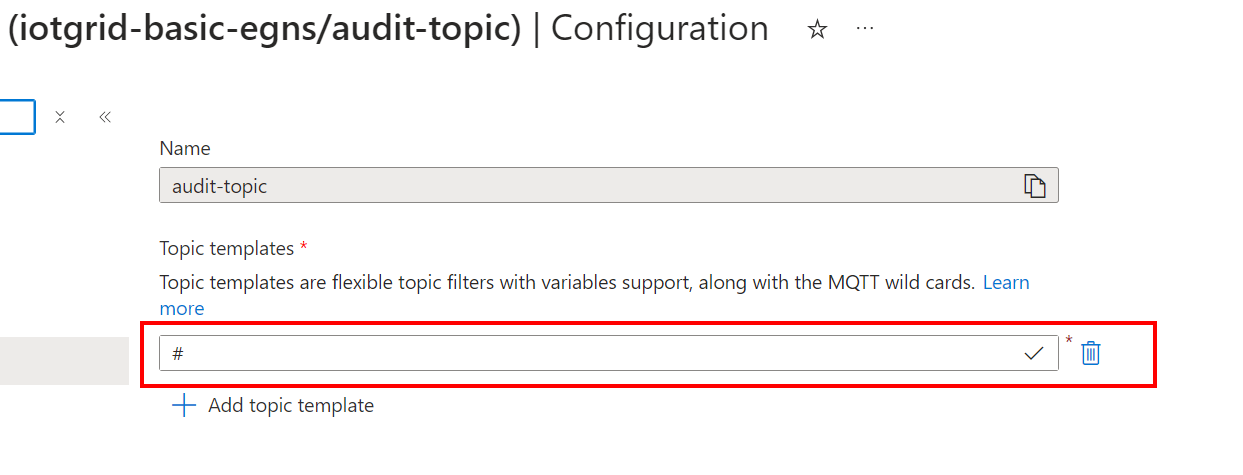
This will provide access to incoming messages for ALL topics in an MQTT broker.
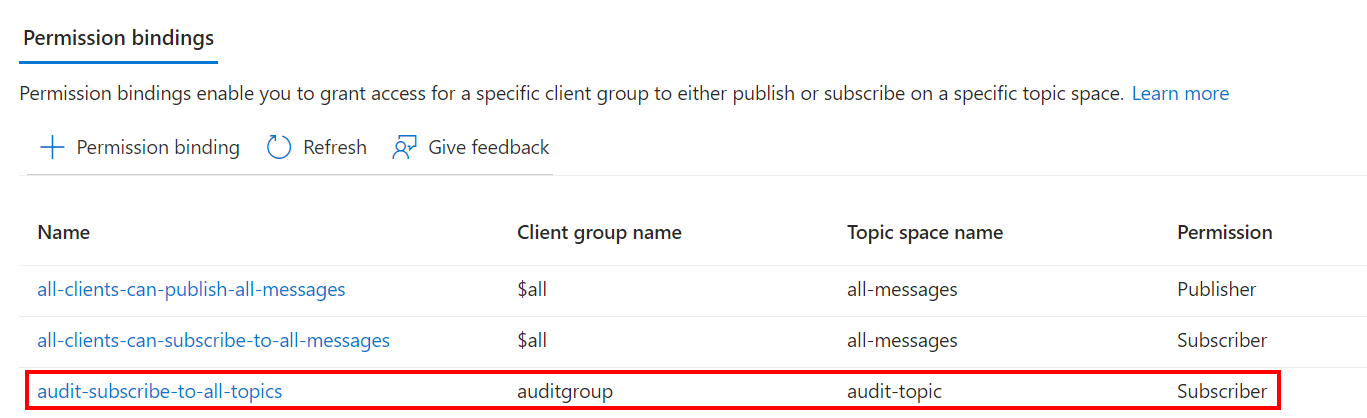
Finally, I gave all clients in the ‘auditgroup’ client group ‘subscriber’ access to that ‘audit-topic’ topic space via an extra permission binding:
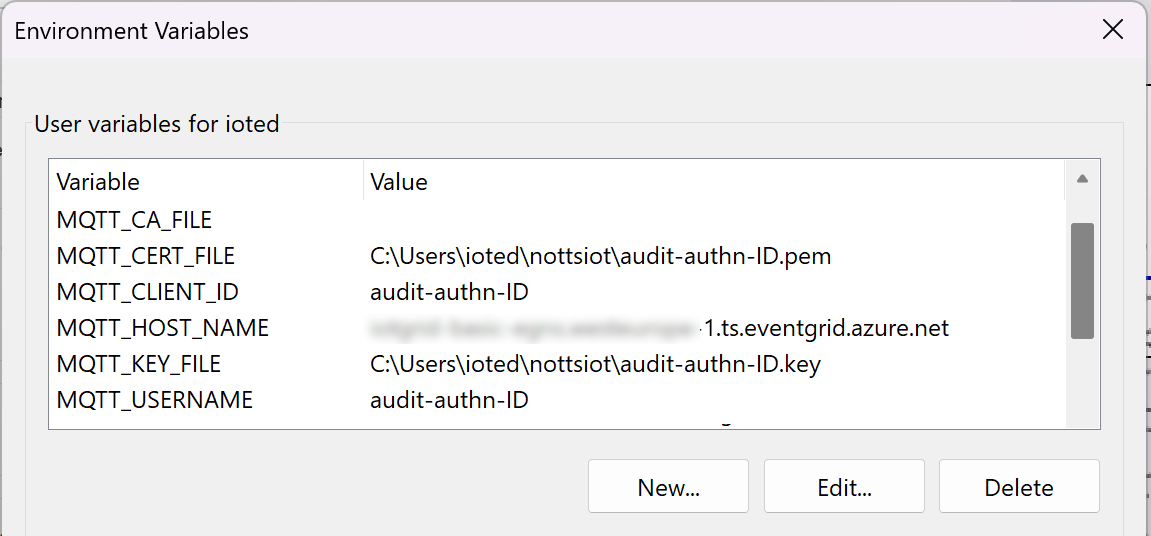
Using environment variables (documented in the extensions library repo), I can now reference the ‘audit’ client in our explorer app:
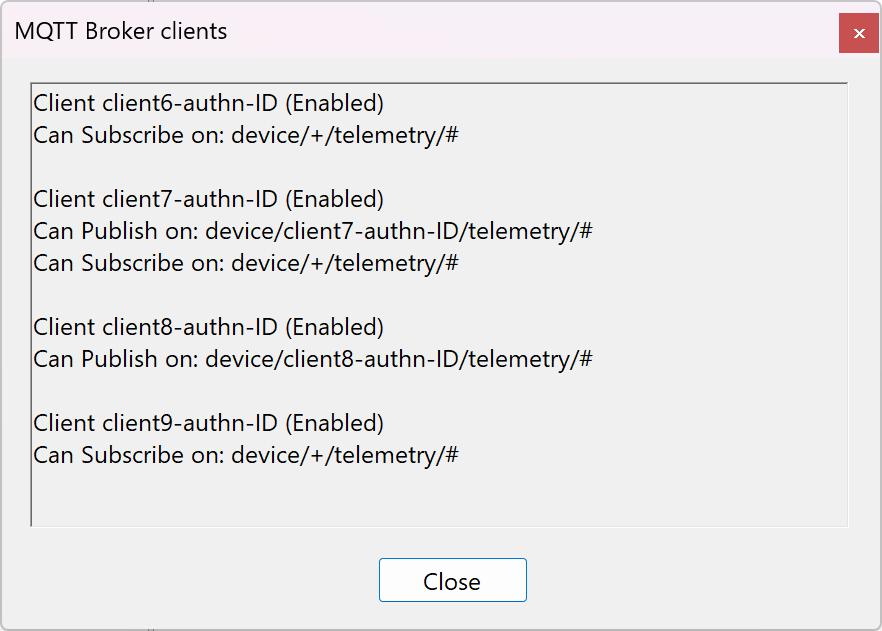
Optionally, the explorer can list all topics for each client, based on this other repo.
This is seen in an extra modal dialog.
For this to work, you have to perform two additional steps (see also the repo readme):
- Add the EventGrid subscriptionId, resourceGroupName, and namespaceName as extra environment variables
- Log in to Azure via the local Azure CLI so our explorer can access the Azure resources
Once these steps are performed, you see all clients with their topics of a given EventGrid namespace:
Note: for simplicity, keep the ‘mqtt-graph-namespacename’ environment variable on par with the ‘MQTT_HOST_NAME’ environment variable (notice the actual notation differs).
Features
What can our new explorer offer?
Most importantly, the tool can listen to incoming messages and represent them on screen.
A separate topic is then created when a new message topic is encountered.
Regarding the messages, both strings (eg. JSON) and decimals (or integers) are supported and represented.
Each first message of a new topic is evaluated to see if it can be converted to a double so a line chart is shown:
If not, each message to that topic is threatened as a string:
By default, for each new message, the explorer will automatically switch over to the related topic if another topic is encountered. This way, we always see the latest message being represented.
This is not really useful if many messages arrive from multiple topics, we keep switching views. So, this behavior can be controlled in the settings page:
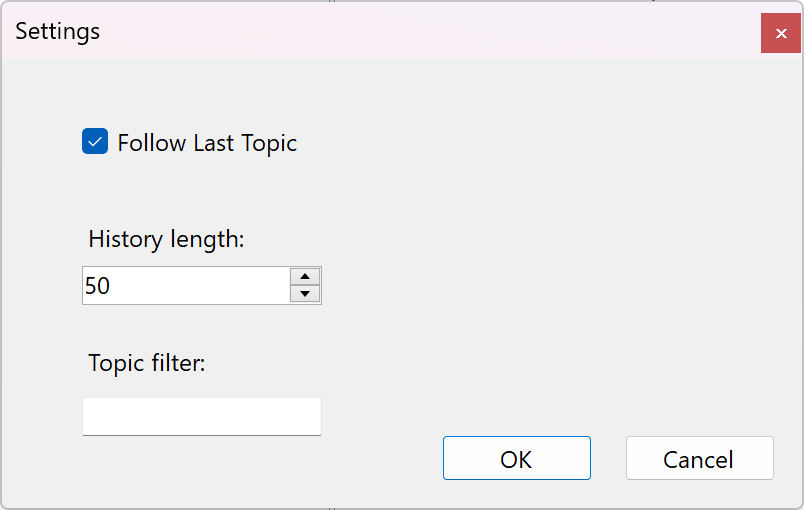
Just uncheck the ‘Follow Last Topic’ and now you are in control of switching between topics. This has to be done by hand until the checkbox is unchecked again.
Next, you can change the maximum length of historical messages/values per topic in either the string list or line chart.
You can also limit the number of topics represented on the main page. Only topics that contain the text (put in the ‘Topic filter’) are shown. Messages arriving from other topics are remembered but not shown while the topic filter is active. Afterward, those historical values are only shown when a new message arrives for each of those topics.
If you want to pause the representation of new messages arriving (because you are interested in certain older messages), you can pause the screen from being updated:
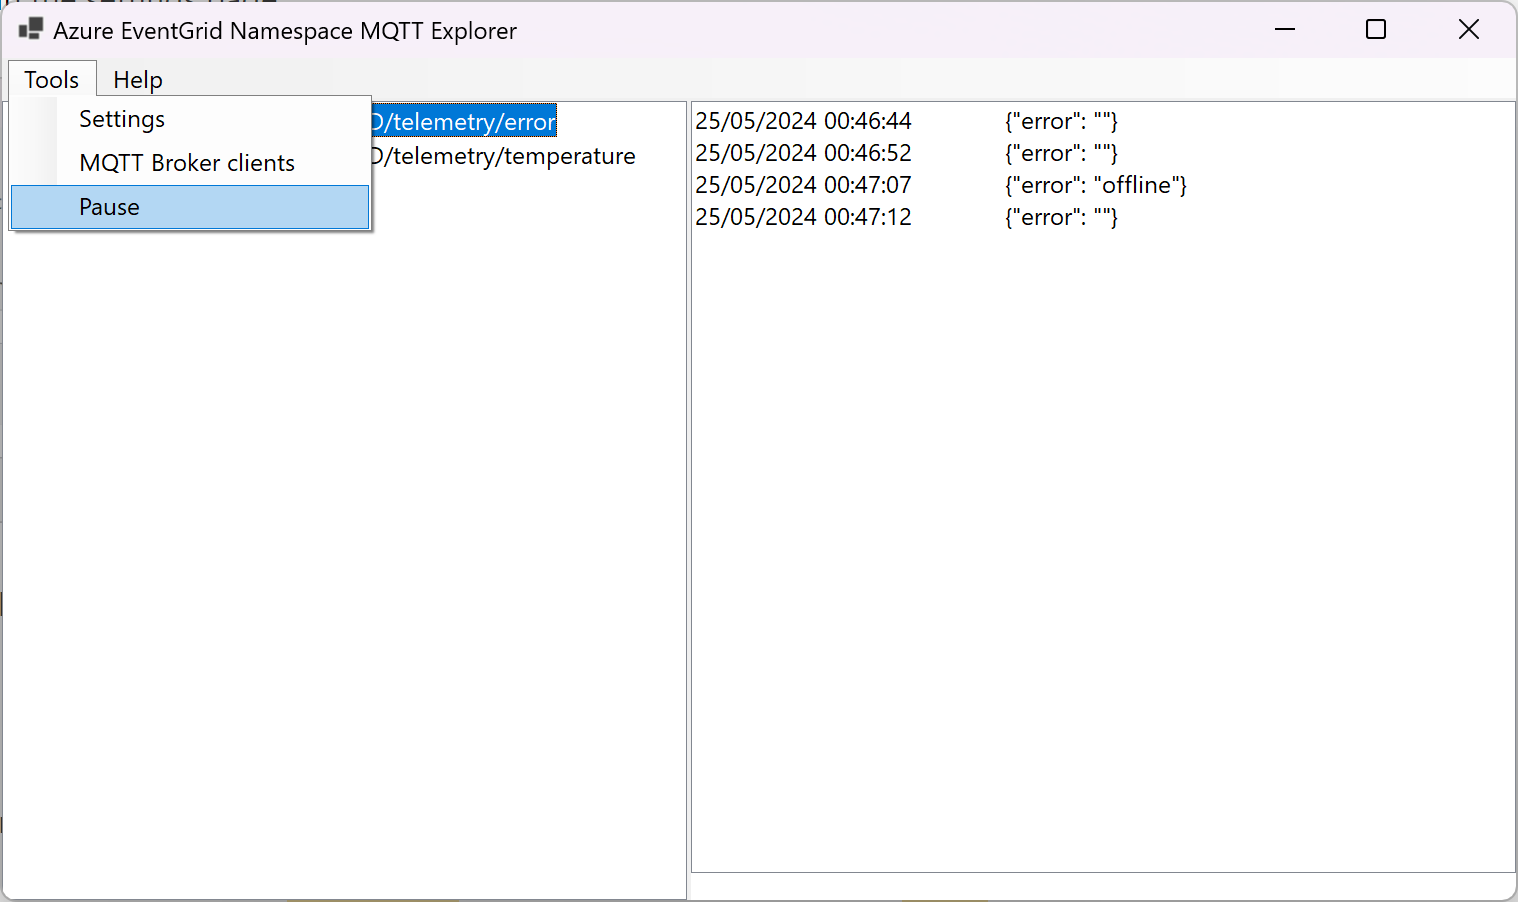
While being paused, new messages are stored but not represented yet.
Once pausing is disabled again, the latest historical messages are represented again, only when a new message arrives for each of those topics.
Conclusion
Using this Winform application, we now have a rudimental MQTT broker explorer to see what messages are arriving on what topics within our MQTT broker.
Yes, the Explorer has a few rough ends but it works as expected.
Feel free to use this tool directly or start coding and elaborate on it.
Pull requests are welcome, especially on new hosting applications for the explorer logic.
